
Pro-Bel was recently faced with the problem of installing a rigging sleeve on an existing building where we had no access to the ceiling below the roof.
The interior atrium of the building could not be cleaned (or maintained) because there was no lift/platform that could reach the required height (and there was no other access point to install equipment). The biggest problem, though, was that there was no access to the ceiling, and between the drywall and the roof, there was a ten-foot gap (which, again, complicated things even more).
What we did was add a large twelve-foot extension bit to a drill and then (once we opened up the roof beside an I-beam) lowered the extended drill ten feet and drilled through the drywall below (to create a circular hole).
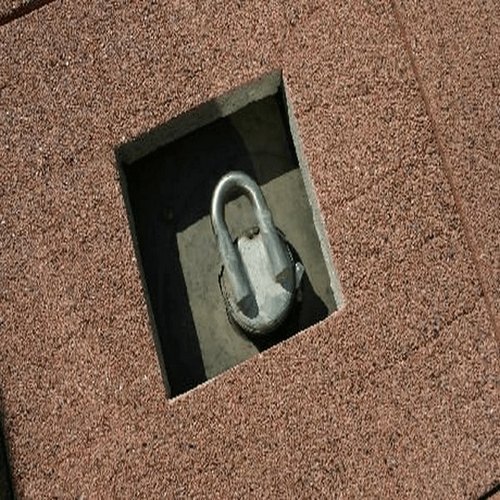
Once that was completed, we installed the rigging sleeve pier by wrapping its base plate around the I-beam and then offsetting the pier.
Once the pier was installed, we lowered a cable through it and the drywall hole and eventually all the way to the ground floor. Once the cable was hung from the roof to the ground we were able to thread the cable through a PVC tube insert. The insert had a cap on the bottom, which would give it a nice-looking finish with the ceiling. We had to find a way to attach the cable to the insert before lifting it to the ceiling, so we secured an anchor to the end of the cable.
We then began to hoist the insert (along with the cap and anchor) up to the ceiling.
The insert eventually entered the pier, and screws were then inserted into the sides of each to secure it in place.
The rigging sleeve was then finished (like any other rigging sleeve) with a cap on top of the pier, and the roofing around it was patched to a watertight condition.
This is the first time that we have ever completed an installation under these circumstances, and it was an enormous success. There really is a solution to every problem!